What Is a Stop Limit Order: A Clear Guide to Precision Trading
A stop limit order is one of the most powerful tools in a trader's arsenal, but it's often misunderstood. Think of it as a smart, two-part instruction you give your broker to gain precise control over your trades.
It combines two critical price points: a stop price that acts as a trigger, and a limit price that defines the absolute worst price you're willing to accept. This gives you control over both when your order goes live and the price you'll ultimately get, which is a lifesaver in fast-moving, volatile markets.
Understanding Stop Limit Orders for Precision Trading
Let's use a real-world analogy. Imagine you're trying to sell a rare baseball card online. You’re not willing to let it go for less than $980, but you've also noticed that if the market price drops to $1,000, it usually signals a panic sell-off.
Using a stop limit order is like giving your auctioneer a specific, two-step command:
"If the bidding price falls to $1,000 (this is your stop price), immediately put my card up for sale. However—and this is the important part—do not accept any offer below $980 (this is your limit price)."
This two-step process protects you from disaster. If the market suddenly crashes and bids fly past your $1,000 trigger, your order won't execute at some ridiculously low price like $950. It ensures you don't get caught in a flash crash and sell for far less than you intended.
This dual-threshold mechanism is what separates it from simpler order types. The stop price is the trigger, and the limit price is your safety net. It was designed specifically to fix the biggest problem with a standard stop-market order, which can execute at a much worse price than you ever expected during a sudden market swing.
The Two Core Components
A stop limit order is built on two simple but crucial price points. Getting them right is key.
- The Stop Price: This is your trigger. When the asset's price hits your stop price, your order instantly converts into a live limit order, making it visible to the market and ready to be filled.
- The Limit Price: This is your line in the sand. It specifies the absolute maximum you'll pay on a buy order or the minimum you'll accept on a sell order. Your trade will only go through at your limit price or better.
A stop limit order is basically you telling the market: "If the price hits X, then try to buy/sell for me, but only if you can get me a price of Y or better."
To really make these orders work for you, you need a solid grasp of market dynamics. Learning how to read cryptocurrency charts effectively is a great starting point, as it helps you place your stop and limit levels strategically around key support, resistance, and momentum zones.
For a clearer picture, here’s a quick breakdown of the two parts of a stop limit order.
Stop Limit Order at a Glance
| Component | Function | Analogy |
|---|---|---|
| Stop Price | The "If" condition. This price triggers the order and puts it on the market. | The starting pistol in a race. Nothing happens until it fires. |
| Limit Price | The "Only if" condition. Sets the best/worst acceptable price for execution. | Your reserve price at an auction. You won't sell for a penny less. |
In short, the stop price activates the order, and the limit price dictates the execution terms. Mastering this relationship is fundamental to using stop limit orders to manage risk and trade with precision.
How a Stop-Limit Order Unfolds Step-by-Step
To really get a feel for what a stop-limit order is, let's walk through its entire lifecycle, from the moment you place it to when it (hopefully) gets executed.
Imagine you're watching a stock, XYZ Corp, which is currently trading at $55. You've done your homework and believe that if it can punch through a key resistance level at $60, it's headed for a serious climb. The catch? You want to avoid getting suckered into a false breakout and buying at a terrible price.
This is the perfect scenario for a buy stop-limit order. You'll set two specific prices to get you into the trade with the control you need.
Step 1: Placing the Order
First, you need to define your trigger. You decide that the price hitting $60 is the signal you're waiting for—the sign of a real breakout. This becomes your stop price.
Next, you set your safety net. You're willing to buy the stock, but you absolutely refuse to pay more than $60.50 per share. This is your limit price. That 50-cent window between the stop and limit price gives your order a reasonable shot at getting filled without you having to chase the price to the moon.
So, you place your buy stop-limit order with these two parameters:
- Stop Price: $60.00
- Limit Price: $60.50
Right now, your order is just sitting there, completely dormant and invisible to the market. Think of it as a conditional instruction, just waiting for its cue.
Step 2: The Trigger Event
A few days go by, and some positive news sends XYZ Corp’s price soaring. As it climbs, it finally touches $60.00.
Bingo. The moment the market price hits your stop price, your order is triggered. It instantly transforms from a quiet instruction into a live limit order to buy shares at $60.50 or better (meaning, a lower price). Your order is now on the exchange's order book, ready to be filled.
This flow chart gives you a great visual of how that activation works, moving from a market price trigger to a live limit order.
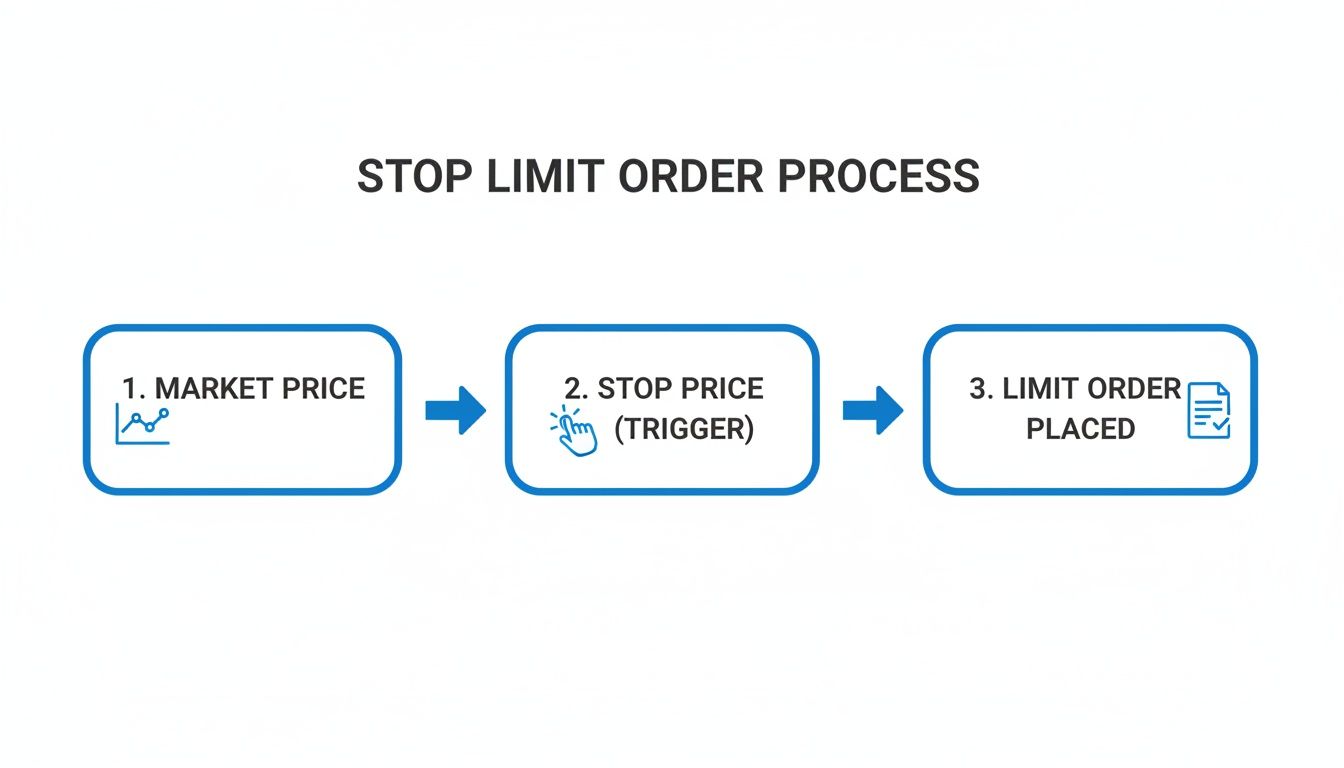 As you can see, it’s a two-stage mechanism. The stop price is the switch that flicks the limit order on.
Step 3: The Execution Outcome
Once your limit order goes live, one of two things is going to happen.
-
Successful Execution: The price of XYZ Corp keeps ticking up, and sellers are offering shares on the market at $60.40. Since that price is better than your limit of $60.50, your order gets filled. You've just successfully entered the breakout trade, and you did it within the exact price range you defined.
-
No Execution: In a wilder scenario, the price might gap up aggressively. After hitting your $60 stop, the price instantly jumps to $60.75 without any shares trading in between. Your limit order to buy at $60.50 is active, but it's left unfilled because the market price blew right past your limit.
The core trade-off of a stop-limit order is crystal clear: you get total control over your entry price, but you give up the guarantee of execution. If the market moves too fast, your safety net prevents a bad fill but might leave you standing on the sidelines altogether.
As you get comfortable with how these orders work, it's also helpful to understand the difference between a solicited vs. unsolicited trade, since your order could be classified as either depending on your broker's involvement. Knowing this distinction helps clarify everyone's role in the execution process.
Comparing Stop Limit, Stop Market, and Limit Orders
Choosing the right order type can feel like picking the right tool for a delicate job. Each one is designed for different market conditions, and knowing the difference between a stop-limit, stop-market, and a plain old limit order is crucial for managing your risk and executing your strategy with any kind of precision.
Think of it this way: each order offers a different balance between price control and the certainty of getting your trade filled.
A limit order is your most basic tool for price control. You set the exact price you're willing to pay (or get paid), and the order only fills at that price or better. It’s perfect when your price is non-negotiable, but there's zero guarantee of execution if the market never touches your level.
A stop-market order, often just called a stop-loss, does the opposite. It prioritizes a guaranteed exit over a specific price. Once the market hits your stop price, it becomes a simple market order that sells at whatever the next available price is. This is great for getting out of a losing trade fast, but it leaves you totally exposed to slippage—selling for a much worse price than you intended during a volatile drop.
For a deeper look at these two fundamental order types, check out our guide on the differences between a market order vs limit order for smarter trading.
The Head-to-Head Comparison
So, where does a stop-limit order fit into all this? It’s the hybrid, trying to give you the best of both worlds. It has a trigger like a stop-market order and the price control of a limit order. It only activates when your stop price is hit, but then it will only fill within the price range you've set with your limit.
The core difference really comes down to the trade-off you’re willing to make. Do you prioritize a guaranteed exit (stop-market), a precise price (limit), or a controlled exit that might not even happen (stop-limit)?
This balancing act is what it’s all about. The stop-limit order’s biggest weakness is the risk of non-execution. If a stock gaps down violently, it might blow right past both your stop and limit prices, leaving your order unfilled and your position completely unprotected.
To make the choice a bit clearer, let's break down how these three orders stack up against each other across the factors that matter most to a trader.
Order Type Comparison Matrix
The table below gives you a side-by-side look at how these three essential order types perform under pressure. It's a quick cheat sheet for deciding which tool is right for the job at hand.
| Feature | Stop Limit Order | Stop Market Order | Limit Order |
|---|---|---|---|
| Price Control | High. You define the worst price you’ll accept. | None. Fills at the next best available market price. | Absolute. Fills only at your specified price or better. |
| Execution Guarantee | No. May not fill if the market moves too quickly. | High. Almost certain to fill as a market order. | No. Will not fill unless the market reaches your price. |
| Slippage Risk | Low. The limit price prevents filling at a bad price. | High. Can fill far from your stop price in volatile markets. | None. Your price is fixed. |
| Best Use Case | Controlled exits/entries where price precision is key. | Getting out of a trade quickly is the top priority. | Entering or exiting a position at a specific target price. |
Ultimately, there's no single "best" order type—only the best one for your specific strategy, the stock's volatility, and your personal risk tolerance. Mastering when and how to use each one is a fundamental skill that separates novice traders from the pros.
Stop-Limit Orders in Real-World Trading Scenarios
Theory is one thing, but seeing a stop-limit order in action is where the concept really clicks. Let's walk through two distinct trading stories to show how this order type helps manage both entries and exits with surgical precision.
These scenarios bring the mechanics to life.

Scenario 1: Entering a Breakout Trade
Meet Alex, a trader who has been patiently watching TechCorp (TC). The stock is currently trading at $148 but keeps hitting a wall at the $150 resistance level, a ceiling that has held firm for weeks.
Alex believes that if TC can finally push past $150, it’s going to run. He wants in on the action, but only if the breakout is confirmed, and he absolutely refuses to chase the price and overpay in a buying frenzy.
To nail this entry, he places a buy stop-limit order.
- Stop Price: He sets his stop at $150.10. This is his trigger—the price that tells him the breakout is real.
- Limit Price: He sets his limit at $150.60. This is the absolute maximum he's willing to pay per share.
That 50-cent difference creates his execution window.
A few days later, a blowout earnings report sends TC’s price flying. It crosses $150.10, triggering his stop. Instantly, his limit order to buy at $150.60 or better becomes active. The market offers the next available shares at $150.45—well within his price range—and his order fills.
Alex got into the breakout exactly as planned, with total control over his entry price.
Scenario 2: Protecting Profits on a Winning Position
Now let's check in with Sarah. She bought shares of Global Goods (GG) a while back at $75, and the stock has been on a tear, now trading at $100.
She’s sitting on a nice $25 per share profit. She wants to protect those gains but also leave the door open for the stock to climb even higher. A sell stop-limit order is the perfect tool for this job.
Sarah pulls up the chart and identifies a strong support level around $96. Her thinking is simple: if the price breaks below that floor, the uptrend is probably over.
Her goal is to lock in profits if the trend reverses, but without getting a terrible price if the stock suddenly flash-crashes.
Here’s how she sets up her order:
- Stop Price: She sets the stop at $95.90, just a tick below that key support level. This is her trigger to get out.
- Limit Price: She sets the limit at $95.50. This is the lowest price she'll accept for her shares, no exceptions.
A week later, the market turns sour and GG starts to fall. It drops to $95.90, activating her sell order. The price keeps sliding but finds buyers at $95.70. Since this is above her $95.50 limit, her shares are sold. She successfully exited her position, protecting the vast majority of her profit.
But here’s the catch. If the stock had gapped down from $96 to $95 in a heartbeat, her order would have remained unfilled, leaving her exposed to further losses. This perfectly illustrates the crucial trade-off: price control versus the certainty of execution.
Navigating the Risks of Stop Limit Orders
While the stop-limit order gives you fantastic control over your exit price, it comes with a critical trade-off every trader has to respect: the very real risk of non-execution. This is the nightmare scenario where your safety net simply fails to deploy, leaving your position completely exposed to a market that's moving violently against you.
Picture this: a stock you own starts to tank. It blows past your stop price, which correctly triggers your limit order to sell. But if the selling pressure is a tidal wave, the market price can plummet straight through your limit price before your order ever gets a chance to be filled.
This is what we call a price "gap," and it's the Achilles' heel of a stop-limit order. You get the price protection you wanted, but you completely sacrifice the guarantee of an exit.
The Danger of Price Gaps
When a gap occurs, your limit order is left hanging—active but unfilled, waiting for a price that might never return. This danger is amplified during certain market conditions:
- Major News Events: A surprise earnings miss or a negative FDA ruling can cause prices to gap down instantly.
- Opening Bell Volatility: The first few minutes of trading are notorious for significant price gaps as the market digests overnight news.
- Low-Liquidity Assets: Thinly traded stocks or cryptocurrencies are far more susceptible to sharp, sudden moves on relatively low volume.
The greatest strength of a stop-limit order—its refusal to accept a bad price—is also its greatest weakness. In a market panic, this precision can prevent your order from executing at all, turning a planned small loss into a much larger one.
Best Practices for Mitigating Non-Execution Risk
You can't eliminate this risk entirely, but you can absolutely manage it like a professional. Smart traders use a few key techniques to boost the odds of their orders getting filled while still maintaining a degree of control.
One of the most effective strategies is setting an appropriate spread between your stop and limit prices. Giving yourself a wider buffer increases the likelihood of a fill in a fast-moving market. For a deeper dive into setting effective levels, our guide on how to set stop losses is a fantastic resource for building a solid risk management plan.
Seasoned traders also tend to avoid placing orders at obvious psychological levels like $50.00 or $100.00. These round numbers are magnets for order clusters, which can create pockets of intense volatility. Research from the Federal Reserve Bank of New York has even identified "price cascades," where a high concentration of stop orders at these levels can actually accelerate a crash. A simple fix is to set your stop just above or below these predictable points.
Finally, always keep an eye on your active orders, especially when the market gets choppy. If you see your stop-limit order has been triggered but isn't filling, you need to be ready to step in and manually kill the position with a market order if getting out becomes your number one priority.
Placing Stop Limit Orders with Advanced Tools
Knowing the theory behind a stop limit order is one thing. Putting it to work effectively when the market is moving and the pressure is on? That’s a completely different ballgame. This is where modern trading platforms like ChartsWatcher come in, bridging the gap between concept and execution with powerful tools that can completely change how you manage these orders.
Instead of just setting an order and hoping it works out, advanced software lets you build a more responsive and intelligent strategy. You can move way beyond simple price triggers. For instance, you can set up custom alerts to ping you when a stock is approaching your stop level, giving you a critical window to reassess the trade before it even goes live. This kind of proactive monitoring is a lifesaver in choppy markets.

Elevating Your Order Strategy
For traders who want to get ahead of the market, scanners are indispensable. You can set up a market scanner to find stocks that are creeping up to key breakout points, flagging them as perfect candidates for a buy stop limit order. It automates the heavy lifting of finding opportunities, freeing you up to focus on the important stuff: refining your entry and exit points.
Of course, figuring out where to place your stop and limit prices is half the battle. This is where historical data becomes your best friend. A crucial part of knowing what a stop limit order can do for you is knowing where to place it. Backtesting tools let you run your chosen stop and limit prices against past market action, showing you exactly how your strategy would have played out.
This data-driven approach takes the guesswork out of the equation. You can test different spreads between your stop and limit prices to find that sweet spot that gives you the best chance of execution without taking on too much risk.
Interestingly, research from automated exchanges shows that about 90% of limit orders that eventually get filled do so within three hours of being placed. For professional traders, understanding these execution patterns is vital for building realistic strategies. You can dive deeper by checking out the full research on order execution behavior.
This is exactly why top traders lean so heavily on custom dashboards and alerts. They’re constantly watching their open orders, ready to nudge their limit prices as the market breathes. Ultimately, technology provides that critical link between knowing what to do and actually doing it profitably.
Common Questions About Stop-Limit Orders
Even when you've got the mechanics down, real-world trading always throws a few curveballs. Let's tackle some of the most common questions traders have about putting stop-limit orders into practice.
What Happens if the Market Skips Right Past My Order?
This is the big one. Imagine you set a stop-limit to sell at a stop of $49.50 and a limit of $49.25. The price starts to fall, hits your $49.50 stop, and suddenly—maybe due to bad news—plummets to $49.00 without a single trade happening in your limit range.
Your order does not fill. Instead, it becomes an active limit order sitting on the books at $49.25. It will only execute if the price climbs back up to your limit price or better. This is the primary risk: in a fast-moving, volatile market, your "protection" might not trigger, leaving your position fully exposed to further losses.
How Wide Should I Set the Gap Between My Stop and Limit Prices?
There’s no magic number here; it's a direct trade-off that depends entirely on the stock's personality. A super tight spread—say, just a few cents—gives you precise control over your exit price, but you dramatically increase the chances of the market gapping right past you and leaving you unfilled.
A wider spread gives you a much better chance of getting filled in choppy conditions, but you're also accepting more potential slippage. A good rule of thumb is to look at a stock's Average True Range (ATR). This gives you a data-backed sense of its typical price swings and helps you set a reasonable buffer that isn't just a wild guess.
Key Takeaway: The spread between your stop and limit is a balancing act. You're constantly weighing the certainty of execution against the precision of your fill price.
Can I Use a Stop-Limit Order to Go Short?
Absolutely. The logic is just flipped on its head.
- To enter a new short position, you'd place a sell stop-limit order below the current market price. As the price drops and hits your stop, it triggers a limit order to sell short.
- To cover an existing short position (i.e., take profit or cut losses), you'd use a buy stop-limit order above the current price to buy back the shares.
Ready to move from theory to execution? ChartsWatcher provides the advanced market scanning and backtesting tools you need to place smarter orders. Find your ideal entry points and manage risk with the confidence that comes from data-driven insights. Explore ChartsWatcher today and trade like a professional.
