How to Read MACD: Master the Trading Indicator Today
Decoding MACD Essentials: The Foundation For Success

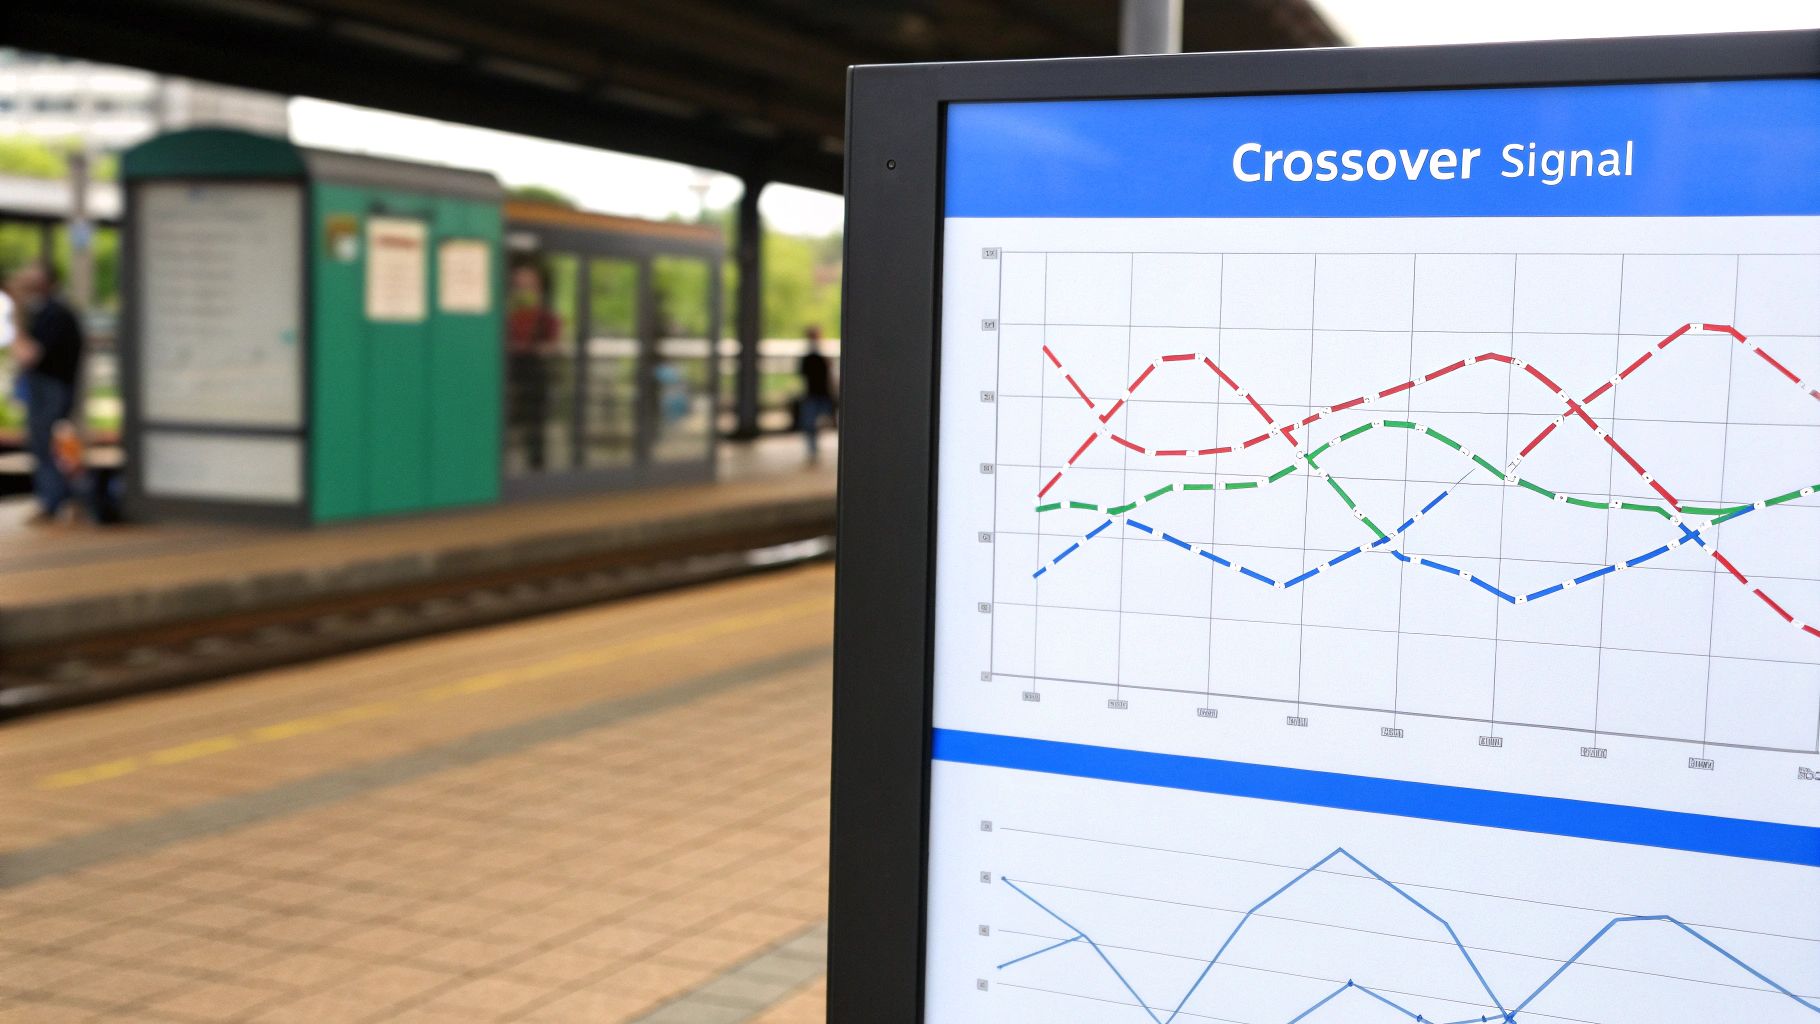
The Moving Average Convergence Divergence (MACD) indicator is a valuable tool for traders looking to understand market momentum. It analyzes the relationship between two moving averages to identify potential buy and sell signals. This section breaks down the core components of the MACD and how they work together to provide valuable market insights.
Understanding The Three Components of MACD
The MACD indicator has three main parts: the MACD line, the signal line, and the histogram. Each part plays an important role in interpreting the indicator's signals.
The MACD line is calculated by subtracting the 26-period Exponential Moving Average (EMA) from the 12-period EMA. This shows the momentum of price changes.
The signal line is a 9-period EMA of the MACD line. It acts as a trigger for trading signals.
The histogram visually represents the difference between the MACD line and the signal line, making momentum shifts clearer.
How These Components Work Together
Understanding the relationship between these three components is key to using the MACD. When the MACD line crosses above the signal line, it suggests upward momentum, often a bullish signal. Conversely, a crossover below the signal line can indicate downward momentum, a possible bearish signal.
The histogram confirms these signals. A rising histogram above the zero line shows increasing bullish momentum. A falling histogram below zero suggests growing bearish pressure.
Interpreting MACD Signals in Context
Crossovers are essential, but it's also vital to consider the overall market. Where the crossover happens, relative to the zero line, offers more clues. A bullish crossover above the zero line is usually stronger than one below it. This confirms a positive trend.
It's important to look at other technical indicators and market conditions to confirm MACD signals and avoid inaccurate interpretations. Learn more about the MACD formula and calculation here: Investopedia.
You can also explore further with this resource: How to master the MACD in stocks strategy for profitable trading. This helps refine your understanding and avoid common mistakes.
Historically, the MACD has been effective in various markets, but its performance can vary. In the stock market, for example, strategies using the MACD have shown a Compound Annual Growth Rate (CAGR) of about 6.36%, with an average gain per trade around 0.76%. This highlights the potential of the MACD but emphasizes the need for careful application depending on the market. Using the MACD effectively involves understanding its components, recognizing their relationships, and interpreting signals within the bigger market picture. This allows you to use the MACD as a strong tool for trading.
Mastering MACD Signal Line Crossovers for Precise Entries
Signal line crossovers are the core signals generated by the MACD indicator. Simply spotting these crossovers, however, isn't enough for consistent profits. This section explores how traders use MACD crossovers for precise entries, separating reliable signals from potential traps.
Bullish Vs. Bearish Crossovers: Identifying Potential Entries
A bullish crossover happens when the MACD line crosses above the signal line. This indicates potential upward momentum and acts as a buy signal. Picture the MACD line dipping below the signal line, then surging back above. This often implies renewed buying pressure.
Conversely, a bearish crossover occurs when the MACD line crosses below the signal line. This suggests potential downward momentum and a sell signal. Imagine the MACD line peaking above the signal line and subsequently falling below. This can signal weakening buying pressure and a possible downtrend.
The Importance of Crossover Location Relative to the Zero Line
The crossover's location relative to the zero line adds crucial context. Bullish crossovers above the zero line, in positive territory, are generally stronger buy signals than those below. A bullish crossover above zero suggests positive momentum within an existing uptrend.
Similarly, bearish crossovers below zero, in negative territory, are typically more reliable sell signals. This indicates negative momentum within an existing downtrend, increasing the likelihood of further downward movement. Crossovers near the zero line are often less reliable due to choppy market conditions.
The Impact of Market Context on Crossover Signals
MACD signals should be interpreted within the overall market context. Historically, the MACD indicator has been widely used in financial markets since its introduction by Gerald Appel in the late 1970s. Its popularity comes from its ability to show the convergence and divergence of moving averages. Statistically, MACD is a lagging indicator, using past price data, sometimes leading to delayed signals. Regardless, MACD remains a vital tool, especially when combined with other technical analysis methods. Learn more about Moving Average Convergence Divergence here: LightningChart.
Identical-looking crossovers can have different meanings depending on market conditions. A bullish crossover during high volatility may be less reliable than one during consolidation. Combining MACD crossover analysis with other technical indicators or price action patterns can confirm signal validity.
Timing Entries Based on Crossover Momentum
The crossover's speed and decisiveness offer clues about the underlying momentum's strength. A sharp, rapid crossover suggests a more powerful price move than a slow one. Focusing on this momentum helps fine-tune entry points and potentially improve results. The crossover's momentum can provide insights into the subsequent price move's strength. A fast crossover can sometimes indicate a stronger move than a gradual one, allowing traders to refine entry strategies and improve trade success probability.
Unlocking Hidden Messages in MACD Histogram Patterns
While MACD crossovers offer valuable trading signals, the MACD histogram provides traders with a deeper level of insight into market momentum. This can potentially give traders a timing advantage. This section explores how observing these histogram patterns can allow for anticipating market shifts even before price action reflects them.
Deciphering Histogram Height and Structure
Understanding the MACD histogram starts with analyzing both its height and structure. The histogram's height represents the difference between the MACD line and the signal line. Taller bars indicate strengthening momentum, while shorter bars suggest the opposite.
The structure, referring to whether the bars are growing or shrinking, provides key clues. A sequence of lengthening histogram bars, even below zero, suggests momentum is building. Conversely, shortening bars, even if above zero, hint at weakening momentum. Imagine a histogram with increasingly taller bars above the zero line. This scenario typically signifies strong bullish momentum. However, if these bars begin to shrink, it could be an early warning of a weakening uptrend.
Identifying Divergences in the MACD Histogram
Histogram divergences, similar to those found in the MACD line, offer early indications of potential trend reversals. A bullish histogram divergence forms when the price makes lower lows, but the histogram creates higher lows. This scenario indicates weakening downward momentum, even as prices continue to fall.
A bearish histogram divergence, on the other hand, appears when the price achieves higher highs, yet the histogram shows lower highs. This pattern implies weakening upward momentum, even as the price climbs. Understanding these divergences can be a powerful asset in anticipating market turns.
Let's take a closer look at common MACD histogram patterns and their interpretations with the help of the following table:
MACD Histogram Patterns and Their Interpretations
This table outlines the most common MACD histogram patterns and what they typically indicate about market conditions and possible price movements.
| Histogram Pattern | What It Shows | Typical Market Indication | Trading Consideration |
|---|---|---|---|
| Increasing Height Above Zero Line | Strengthening Bullish Momentum | Uptrend Likely to Continue | Consider entering long positions or adding to existing ones |
| Decreasing Height Above Zero Line | Weakening Bullish Momentum | Potential Trend Reversal or Consolidation | Consider taking profits or tightening stop-loss orders on long positions |
| Increasing Height Below Zero Line | Strengthening Bearish Momentum | Downtrend Likely to Continue | Consider entering short positions or adding to existing ones |
| Decreasing Height Below Zero Line | Weakening Bearish Momentum | Potential Trend Reversal or Consolidation | Consider taking profits or tightening stop-loss orders on short positions |
| Bullish Divergence (Higher Histogram Lows, Lower Price Lows) | Weakening Downward Momentum | Potential Trend Reversal to the Upside | Consider preparing for long entries |
| Bearish Divergence (Lower Histogram Highs, Higher Price Highs) | Weakening Upward Momentum | Potential Trend Reversal to the Downside | Consider preparing for short entries |
This table provides a quick reference for identifying common MACD histogram patterns. Remembering these patterns can significantly enhance your trading analysis.
Using Histogram Analysis to Refine Entry and Exit Strategies
Analyzing the histogram can significantly improve the precision of your trading entries and exits. Identifying potential entry points with growing momentum through histogram height and structure allows for entering trades with a potentially higher probability of success. For example, initiating a long position after a bullish crossover is confirmed by rising histogram bars above the zero line can be a strong strategy. Conversely, a bearish crossover paired with falling histogram bars below zero can indicate a good short entry.
The histogram also helps pinpoint optimal exit points. As histogram bars begin to shorten after a substantial price move, it signals waning momentum. This can be a cue to secure profits or adjust stop-loss orders, ultimately helping maximize gains and minimize potential losses.
Practical Applications of Histogram Analysis Across Timeframes
The principles of histogram analysis remain consistent across different timeframes. However, traders often adjust their interpretations based on whether they are using a daily, weekly, or monthly chart. On shorter timeframes, histogram movements might be more frequent and less significant. Longer-term charts, on the other hand, offer a more comprehensive overview of momentum shifts. For example, a divergence on a weekly chart holds more weight than a similar divergence on a 15-minute chart.
By understanding how to interpret MACD histogram patterns, traders can gain a valuable edge. This understanding of momentum can lead to more precise entries and exits, ultimately enhancing trading performance across various markets and timeframes.
Capturing Powerful Reversals With MACD Divergences

MACD divergences offer compelling trading opportunities. However, realizing their full potential requires accurate identification and skillful interpretation. This section explores how experienced traders use MACD divergences to anticipate significant market reversals.
Spotting the Disconnect: Price Action Vs. Momentum
Seasoned traders often look for subtle disconnects between price action and momentum. These disconnects can foreshadow major reversals. The disconnect appears when the price reaches a new high or low, but the corresponding MACD forms a lower high or higher low. This creates a divergence, suggesting weakening momentum and a potential trend change.
For example, imagine a stock's price hitting a new high, but the MACD peak is lower than the previous one. This is a bearish divergence, hinting at weakening upward momentum and a possible downturn.
Regular Vs. Hidden Divergences: Two Sides of the Same Coin
Regular divergences signal potential trend changes. A bullish divergence forms when the price makes lower lows, but the MACD forms higher lows, suggesting a possible upward reversal. Conversely, a bearish divergence suggests a potential downward reversal.
Hidden divergences, however, confirm the current momentum. A bullish hidden divergence occurs when the price makes higher lows, while the MACD forms lower lows, indicating increasing buying pressure. A bearish hidden divergence, with lower highs in price and higher highs in the MACD, confirms ongoing selling pressure.
The Importance of Timeframe: Context Is Key
The timeframe used for MACD divergence analysis significantly impacts signal reliability. Divergences on longer timeframes, like weekly or monthly charts, carry more weight than those on shorter timeframes.
For instance, a bearish divergence on a weekly chart offers a much stronger signal than a similar divergence on a 5-minute chart. This is because longer-term divergences represent more substantial momentum shifts.
Confirming Divergence Signals: Enhancing Accuracy
While divergences offer valuable clues, confirming them with other indicators increases trading accuracy. Price action patterns, such as double tops or bottoms, reinforce divergence signals. These patterns often coincide with reversals.
Other technical indicators, like the Relative Strength Index (RSI), can provide further confirmation. A bearish divergence on the MACD coupled with an overbought RSI reading strengthens the likelihood of a downturn. The overall market trend should also be considered. A divergence against the prevailing trend holds more weight.
Divergence Strength and Potential Price Movement
The magnitude of the divergence can suggest the potential size of the subsequent price move. A larger divergence, with a more pronounced difference between price and MACD peaks or troughs, often indicates a more substantial reversal. This is due to a greater imbalance between price and momentum.
A smaller divergence, conversely, might lead to a less dramatic price move. By understanding MACD and combining it with other technical indicators, traders can improve their ability to identify high-probability trading opportunities.
Customizing MACD Settings for Your Trading Style

The standard MACD settings (12, 26, 9) provide a solid foundation for many traders. However, tweaking these parameters can significantly enhance the MACD's effectiveness, aligning it with your specific trading style and market conditions. This section will guide you through the process of fine-tuning the MACD to achieve a personalized trading edge.
Understanding the Impact of Parameter Adjustments
The standard MACD settings utilize a 12-period Exponential Moving Average (EMA), a 26-period EMA, and a 9-period signal line. These values were carefully chosen to identify particular momentum relationships in daily price data. Modifying these parameters alters the MACD's sensitivity to price fluctuations.
-
Shorter EMAs (e.g., 5, 13, 6): Shorter EMAs create a faster, more responsive MACD. This rapid response is valuable for day trading, enabling swift identification of short-term momentum shifts. The trade-off is an increase in false signals, making additional confirmation essential.
-
Longer EMAs (e.g., 21, 50, 9): Longer EMAs produce a slower, smoother MACD. This configuration suits long-term investors or swing traders who prioritize broader trends and are less concerned with short-term volatility. These settings effectively filter out market "noise" but may delay entry and exit signals.
Matching MACD Settings to Specific Assets and Timeframes
The ideal MACD settings depend on the asset you're trading and your chosen timeframe. Highly volatile assets may benefit from slower MACD settings to minimize whipsaws. Conversely, less volatile assets might perform better with faster settings to detect subtle momentum shifts.
Your analysis timeframe also plays a crucial role. Shorter-term charts (like 5-minute or 15-minute) often work best with faster MACD settings. Weekly or monthly charts, on the other hand, typically require slower settings to accurately reflect longer-term momentum.
Testing and Evaluating Customized MACD Settings
Discovering the best MACD settings for your trading requires thorough testing and evaluation. Backtesting against historical data provides valuable insights into how different parameters perform under various market conditions. Platforms like ChartsWatcher allow users to customize and test different indicator settings, helping you refine your strategy.
Practical Examples of Customized MACD Configurations
To illustrate the impact of different settings, let's examine a few examples. The table below outlines various MACD configurations and their characteristics.
To help you understand these variations, we've compiled a comparison table.
Comparing Standard vs. Custom MACD Settings
This table compares the standard MACD parameters with common alternative settings and their effects on signal generation and reliability across different market conditions.
| Parameter Configuration | Signal Speed | Noise Filtering | Best Market Conditions | Common Applications |
|---|---|---|---|---|
| 12, 26, 9 (Standard) | Moderate | Moderate | Trending or Sideways | General Purpose, Swing Trading |
| 5, 13, 6 (Fast) | Fast | Low | Trending, Volatile | Day Trading, Scalping |
| 21, 50, 9 (Slow) | Slow | High | Trending, Less Volatile | Long-Term Investing, Position Trading |
These examples demonstrate how adjusting the MACD parameters can create vastly different signals. Keep in mind that these are just starting points. A day trader working with highly volatile stocks might use even faster settings, while a long-term investor in a stable market could opt for slower settings. By carefully customizing your MACD settings, you can enhance its effectiveness for your individual needs.
Building a Complete MACD Trading System That Works
While understanding how to interpret the MACD (Moving Average Convergence Divergence) is important, its real strength lies in incorporating it within a comprehensive trading system. Depending solely on the MACD, or any single indicator for that matter, can result in inaccurate analyses and missed trading opportunities. This section explores combining the MACD with other indicators and strategies to develop a robust and personalized trading system.
Combining MACD With Other Indicators for a Holistic View
The MACD excels at identifying momentum shifts, but it doesn't provide a complete market analysis. Combining the MACD with indicators that address its shortcomings creates a more well-rounded perspective. For example, using the MACD alongside volume indicators can validate the strength of a price movement. High volume accompanying a bullish MACD crossover suggests a strong buy signal. Conversely, low volume with a bearish crossover could indicate a weak sell signal.
Integrating support and resistance levels with MACD analysis adds another layer of insight. A bullish MACD crossover near a key support level often presents a strong buying opportunity. A bearish crossover near resistance reinforces a sell signal. This combination helps pinpoint high-probability trading setups.
Adding volatility measurements, such as Bollinger Bands, can further refine your MACD strategy. A bullish MACD crossover coupled with a price breakout above the upper Bollinger Band can signal a strong upward movement. This approach increases the likelihood of entering a trade with significant momentum.
Frameworks for Combining Indicators Without Analysis Paralysis
Combining multiple indicators can sometimes lead to analysis paralysis if not approached strategically. Implementing a decision hierarchy clarifies which signals take precedence in conflicting situations. For example, you might prioritize price action over the MACD, placing greater importance on breakouts or trendline bounces. This hierarchy prevents overthinking and allows for quicker decision-making.
You might be interested in: MACD Trading Strategy: Proven Techniques for Success.
Another effective framework involves applying context-sensitive confirmation rules. For example, in periods of high volatility, you might require stronger confirmation for MACD signals than during periods of consolidation. This adaptability helps filter out false signals and leads to more accurate trades.
Practical Examples of Indicator Combinations
Here are some examples of effective indicator pairings with the MACD:
- MACD + RSI: The Relative Strength Index (RSI) gauges overbought and oversold market conditions. A bullish MACD crossover combined with an RSI trending upwards from oversold territory strengthens the buy signal.
- MACD + Moving Averages: Combining the MACD with longer-term moving averages (such as the 50-day or 200-day MA) helps identify trends and potential reversals. A bullish MACD crossover above a rising 200-day MA increases the chances of a sustained uptrend.
- MACD + Volume: As previously discussed, volume validates the strength of MACD signals. High volume during a bullish MACD crossover reinforces the buy signal's reliability.
Building Your Personalized MACD Trading System
An effective MACD trading system is tailored to your individual trading style and risk tolerance. Begin by defining your trading goals and preferred timeframe. Are you a day trader, swing trader, or long-term investor? This determines the appropriate MACD settings and indicator combinations.
Next, backtest your chosen strategy on historical data. Platforms like ChartsWatcher allow you to customize indicator settings and simulate trades, enabling you to refine your strategy before using real capital. This process helps determine optimal entry and exit points, and suitable risk management strategies.
Finally, consistently assess and adapt your system. Market conditions fluctuate, requiring your trading strategy to evolve as well. Regularly review your performance and make adjustments as needed to maintain peak trading potential.
Ready to enhance your trading? ChartsWatcher offers advanced charting tools, customizable dashboards, and real-time data to help you implement your personalized MACD trading system. Visit ChartsWatcher today and unlock the potential of informed trading.
