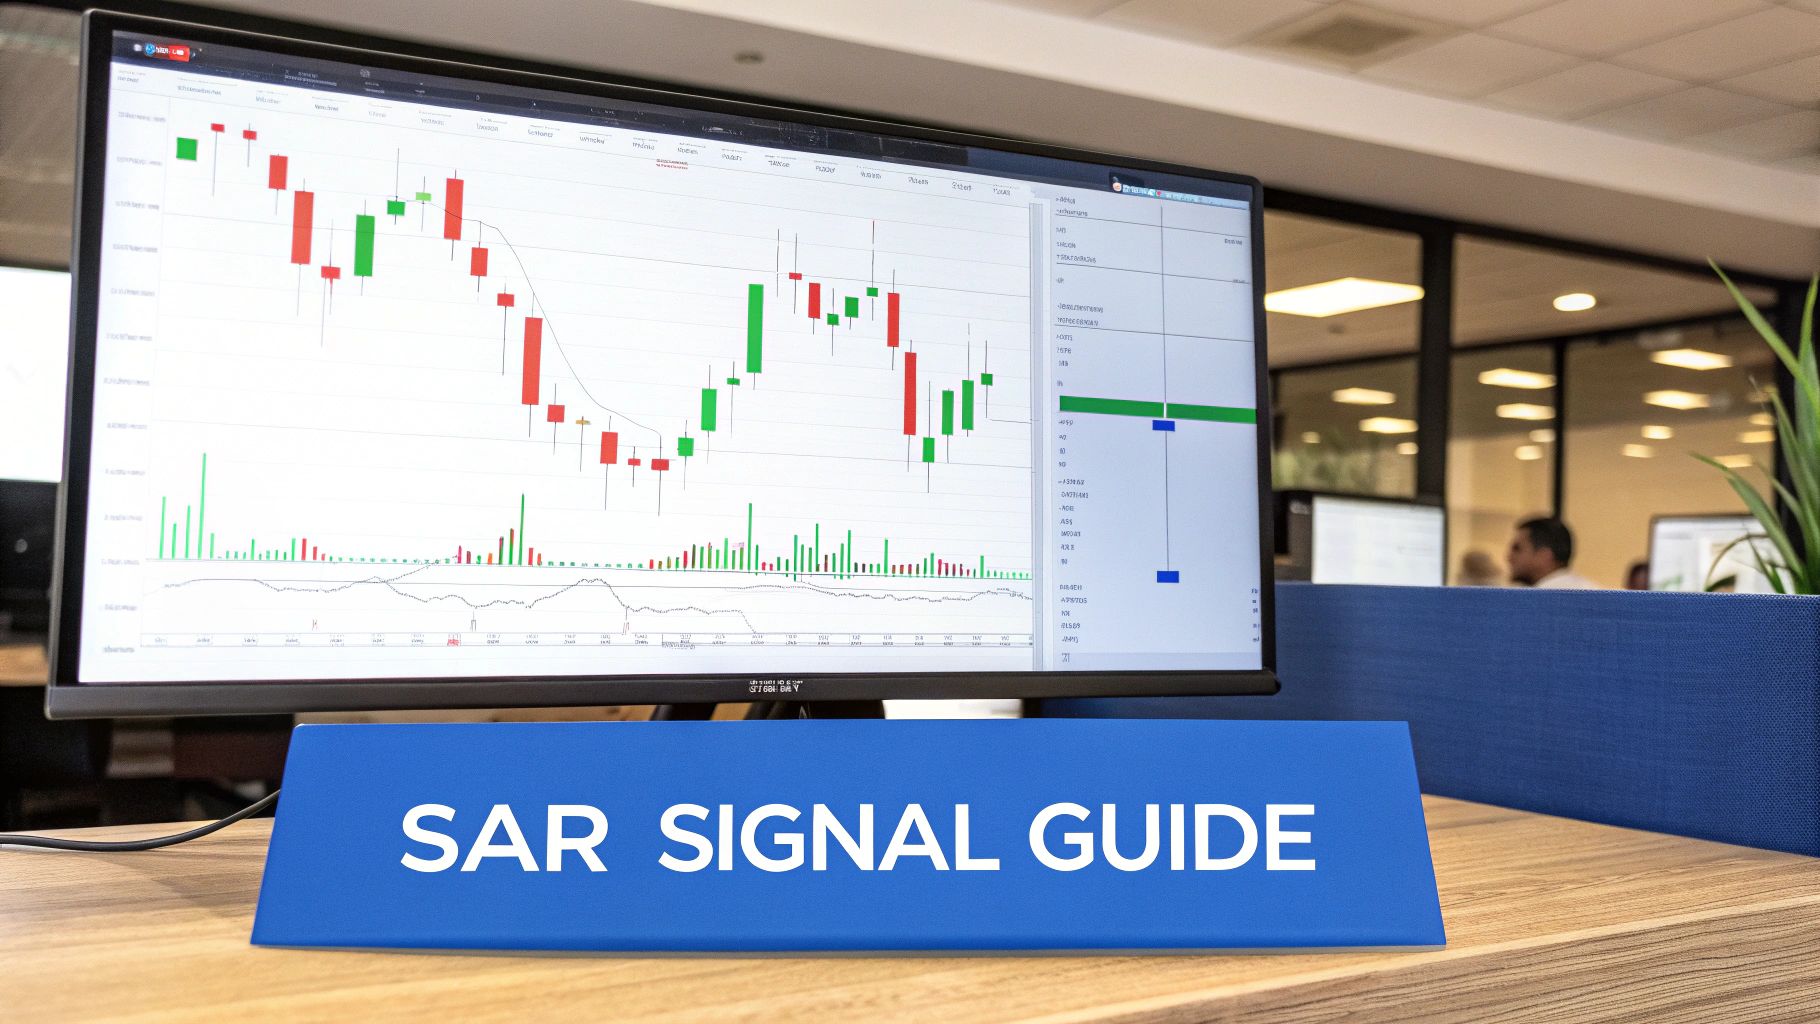
Mastering the Parabolic SAR Indicator for Smarter Trades
The Parabolic SAR is a fantastic little tool for traders. It cuts through the noise with a simple series of dots on a chart, helping you visualize a trend's direction and spot when it might be about to reverse.
When you see the dots tracking below the price, that's your signal for an uptrend. When they flip above the price, the market is likely heading into a downtrend. It's this straightforward "stop and reverse" system that gives you clean signals for getting in and out of trades.
Understanding the Parabolic SAR and Its Function
Think of it like this: you're tracking a rocket, and you've placed a safety net underneath it. As the rocket climbs higher and faster, you move the net up to protect your gains. That's exactly what the Parabolic SAR indicator does. It doesn't just show you the trend; it actively trails the price, acting as a dynamic stop-loss that gets tighter as momentum builds.
This intuitive design is why it’s been a favorite in trading circles for decades. The legendary technical analyst J. Welles Wilder Jr., the mind behind other powerhouse indicators like the RSI, introduced the Parabolic SAR back in 1978. He built it to do three things really well: identify the current trend, pinpoint potential reversals, and provide clear entry and exit signals. If you're curious, you can discover more insights about the Parabolic SAR's origins and its impact on modern trading.
Core Purpose and Visual Interpretation
At its heart, the Parabolic SAR (which stands for Stop and Reverse) is a trend-following indicator. Its main job is to tell you which way the market is moving and, more importantly, when that momentum might be shifting. Unlike a standard moving average that plods along, the Parabolic SAR's sensitivity actually increases over time, making it incredibly responsive to trends that are picking up speed.
Reading it on a chart couldn't be simpler:
- Dots Below Price: This is a clear sign of a bullish uptrend. Traders see this as a cue to either get into a long position or hold an existing one, using the dots as a trailing stop-loss.
- Dots Above Price: This signals a bearish downtrend. It suggests it might be time to enter a short position or protect profits on one, with the dots acting as your guide.
The single most important event on a Parabolic SAR chart is the "flip"—that moment when the dots jump from one side of the price to the other. This crossover is the indicator's core reversal signal, telling you that market momentum might be turning on a dime.
An Adaptive Trailing Stop-Loss
One of the best things about the Parabolic SAR is that it functions as a built-in, adaptive trailing stop-loss. As a trend gains strength and the price pushes to new highs (in an uptrend) or new lows (in a downtrend), the SAR dots accelerate toward the price.
This automatically tightens your stop-loss, helping you lock in profits as a trend matures without having to manually adjust it every five minutes.
The screenshot from ChartsWatcher below shows exactly how this looks on a price chart.
You can clearly see the dots trailing below the candles during the uptrend. When they "flip" and appear above the price action, that's the reversal signal—a clean indication that it might be time to sell. This automated stop-and-reverse system takes a lot of the guesswork out of trade management and encourages a more disciplined approach.
Understanding the Mechanics of the Parabolic SAR
To really get a feel for the Parabolic SAR, you have to pop the hood and see how the engine works. While the math behind it can look a little intimidating at first, the actual logic is surprisingly simple. It all boils down to three key parts working together to chase the price.
Getting a handle on these components is the key to reading the indicator's signals correctly and, just as importantly, tweaking it to fit the way you trade. Let's break down how this thing "thinks."
The Three Core Components
The Parabolic SAR's behavior is basically a constant dance between the price and three internal variables.
- SAR (Stop and Reverse): This is the dot you actually see on your chart. Think of it as the calculated stop-loss level for whatever bar you're looking at. It’s the most visible part of the indicator.
- Extreme Point (EP): This is just the highest high the market has hit during an uptrend, or the lowest low during a downtrend. Every time the price pushes to a new high (or low) in the direction of the trend, the EP gets updated. It's the indicator's way of confirming the trend is still alive.
- Acceleration Factor (AF): This is where the magic happens. The AF controls how quickly the SAR dots speed up and get closer to the price. You can think of it as a sensitivity dial that determines how tightly the trailing stop hugs the price action.
This concept map helps visualize how these moving parts come together to give us actionable trading insights.

As you can see, the indicator's main jobs are to define the trend, signal when it might be reversing, and give you a dynamic trailing stop to manage your trades.
Before we dive deeper into the formula itself, here's a quick table summarizing what each of these core pieces does.
Parabolic SAR Core Components Explained
| Component | Role in Calculation | Typical Setting |
|---|---|---|
| SAR (Stop and Reverse) | This is the final output—the plotted dot on the chart representing the trailing stop level for the current period. | N/A (Calculated) |
| Extreme Point (EP) | Records the highest high (uptrend) or lowest low (downtrend) to help determine if the trend is continuing. | N/A (Price-Driven) |
| Acceleration Factor (AF) | Controls the rate at which the SAR value accelerates towards the price as the trend extends. It's the sensitivity engine. | Starts at 0.02, increases by 0.02 per step, maxes out at 0.20. |
Understanding these three parts is the foundation for mastering the indicator. The real genius, though, lies in how that Acceleration Factor works.
The Secret Sauce: The Acceleration Factor
What makes the Parabolic SAR so unique is how the Acceleration Factor dynamically adjusts. It isn't a fixed number; it actually grows as a trend gets stronger, making the indicator more and more responsive over time. This design was an innovative solution to a common problem in technical analysis where other tools couldn't quite catch trend reversals fast enough. If you're interested in the nitty-gritty, you can read more about the technical details behind its development and see why it was a big deal.
Here’s a practical look at how it works:
- The Starting Line: The AF starts at a very low value, usually 0.02. This gives a brand-new trend some breathing room so the SAR dots don't start out too close to the price.
- Gaining Speed: Every time the price hits a new Extreme Point (a new high in an uptrend or a new low in a downtrend), the AF increases by the step amount, which is also usually 0.02.
- The Speed Limit: The AF keeps increasing with each new EP, but only until it hits a ceiling, which is typically set at 0.20. This cap is crucial because it stops the SAR from becoming too sensitive and kicking you out of a trade on normal volatility.
Think of the Acceleration Factor like the accelerator pedal in a car. When a new trend begins, you’re just gently tapping the gas. As the trend proves itself by making new highs or lows, you start pressing down harder, causing the SAR dots to speed up and close the distance to the price.
This progressive acceleration is a brilliant mechanism. It ensures your trailing stop tightens more aggressively as a trend matures, locking in more of your profits. Eventually, when the trend runs out of steam and fails to make a new EP, those speeding SAR dots will finally catch up to the price, triggering the "flip" that signals a potential reversal is underway.
How to Read Parabolic SAR Signals for Trading Decisions
Watching the dots of the Parabolic SAR paint across a chart is one thing, but translating them into actionable trading signals is where the real magic happens. The process is actually pretty straightforward and revolves around one key event: the "flip," which is when the dots switch from one side of the price to the other.
This single action is your main heads-up for a potential trend reversal. Once you get the hang of reading these flips, you can start making informed decisions instead of just watching the price wiggle. Let's break down the two primary signals and what they really mean for your trading.
The Bullish Flip: A Signal to Buy
The first and most exciting signal for anyone looking to go long is the bullish flip. This happens when the Parabolic SAR dots, which were printing above the price during a downtrend, suddenly jump to appear below the price.
This switch is a clear visual cue that the sellers might be running out of gas and the buyers are stepping up to the plate. For many traders, this is the trigger to start thinking about a long entry.
- Signal: Dots move from above the price to below the price.
- Interpretation: The downtrend could be over, and a new uptrend might be starting.
- Action: Consider entering a long position or closing out an existing short position.
Think of it like a changing of the guard. The bearish pressure keeping the price down (dots above) has been broken, and now bullish support (dots below) is starting to build. That very first dot appearing under a price candle is your signal.
The Bearish Flip: A Signal to Sell
On the flip side, the bearish flip gives you a potential signal to sell or short an asset. This is when the dots, which have been patiently trailing below the price during an uptrend, suddenly leap to a position above the price candles.
This crossover suggests the prevailing uptrend is losing steam and a reversal to the downside could be right around the corner. Traders often see this as a sign to exit their long positions or to initiate a new short trade.
- Signal: Dots move from below the price to above the price.
- Interpretation: The uptrend may be ending, and a downtrend could be beginning.
- Action: Consider entering a short position or exiting a long position.
The logic is simple: the upward momentum has failed, and the price has sliced through its trailing support level. This signals a potential shift in control from the buyers back to the sellers.
A common rookie mistake is to treat every single flip as an immediate order to trade. Pro traders use the flip as a critical alert, but they almost always look for confirmation from other indicators or raw price action before putting capital on the line.
Interpreting the Distance Between Dots and Price
Beyond the simple flip, the distance between the SAR dots and the price tells a story all its own. This nuance can help you tell the difference between a strong, runaway trend and one that's getting tired.
When there's a wide gap between the price and the dots, it suggests a strong and accelerating trend. In an uptrend, if the price is rocketing up and leaving the dots far below, it points to some serious buying pressure.
On the other hand, when the dots start creeping closer and closer to the price, it’s a warning sign that momentum is slowing down. This often happens right before a reversal, giving you an early heads-up that the trend might be on its last legs. The dots closing in means your trailing stop is getting tighter—a clear sign the trend is losing its punch. Learning to read this distance can give you a major edge.
Combining Parabolic SAR with Other Indicators for Better Results
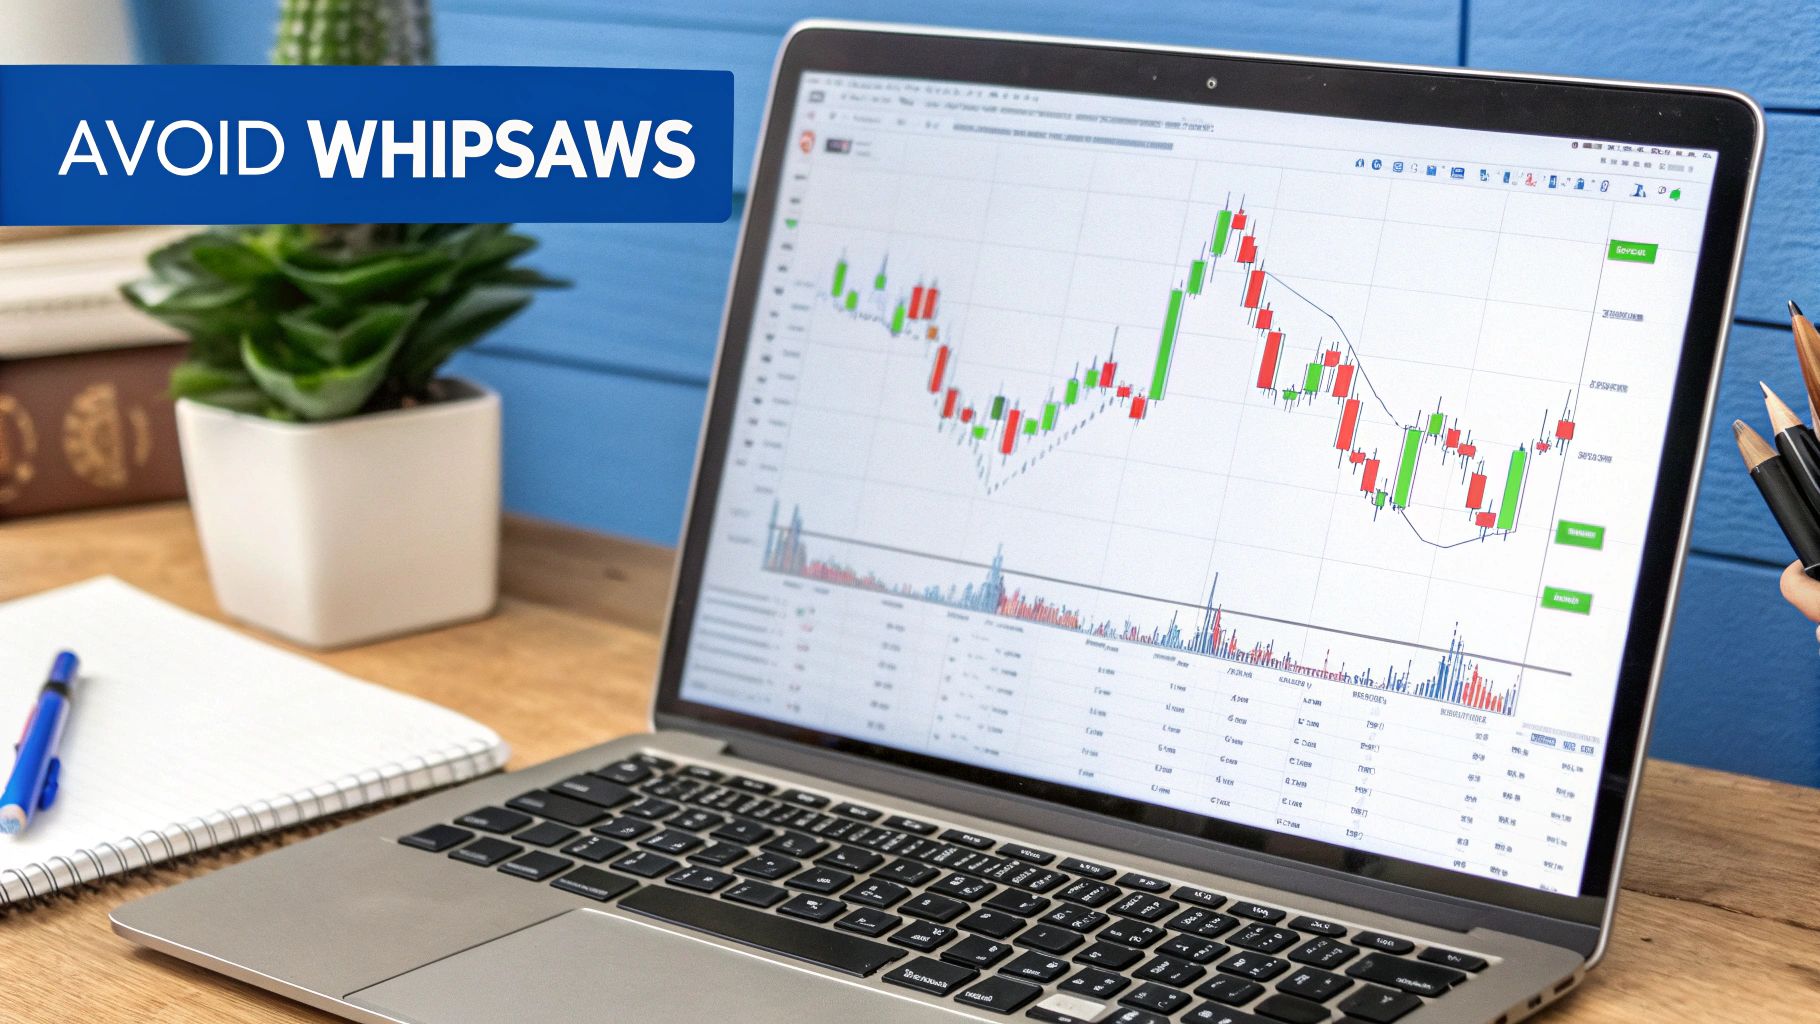
Using the Parabolic SAR all by itself is a bit like trying to navigate a ship with only a compass; it tells you which way you're headed, but it doesn't tell you anything about the weather or how fast you're going. While the SAR is brilliant at pointing out the trend's direction, its biggest downfall is getting tricked in choppy, sideways markets. This is where it spits out a ton of false signals, or "whipsaws," that can quickly drain an account.
Because of this, you’ll rarely find an experienced trader using it in isolation.
The secret is to pair the Parabolic SAR with other tools that have different strengths. Think of it as building a small team of specialists. By adding a second or even third layer of confirmation, you can filter out the junk signals, feel more confident in your entries, and build a trading strategy that’s far more reliable.
Confirming Trend Strength with the ADX
One of the most powerful combos is the Parabolic SAR and the Average Directional Index (ADX). It’s a perfect partnership. The SAR tells you the direction of the trend, and the ADX tells you its strength. This duo directly tackles the SAR's primary weakness head-on.
The ADX works on a simple scale from 0 to 100. A reading below 25 is the market's way of saying, "I'm not trending right now." This is the choppy, sideways price action where the SAR gets you into trouble. But once the ADX climbs above 25, it signals that a real trend is taking hold, giving you the green light to trust what the SAR is telling you.
If you want to get a better handle on this tool, you can learn more about the Directional Movement Index and its components in our detailed guide.
Here’s a simple ruleset to put this strategy into action:
- Check the ADX First: Only pay attention to Parabolic SAR signals when the ADX is above 25. If it's languishing below that level, just sit on your hands. The market is likely ranging.
- Look for the Signal: With the ADX confirming a strong trend, now you wait for a SAR flip. Dots flipping below the price is a potential buy signal, while dots flipping above the price is a potential sell.
- Manage the Trade: Once you're in, the Parabolic SAR dots become your dynamic trailing stop-loss, helping you ride the trend.
Validating Entries with a Momentum Oscillator like RSI
Another fantastic partner for the SAR is a momentum oscillator like the Relative Strength Index (RSI). While the SAR spots the trend, the RSI helps you nail the timing by showing if the move has any real power behind it. The RSI measures the speed and change of price, flagging when a stock might be overbought or oversold.
This combo is great for avoiding the classic mistake of jumping into a new trend just as it's about to run out of gas. For instance, if you get a bullish SAR flip but the RSI is already screaming "overbought" (typically above 70), that's a huge red flag. It suggests the move might be exhausted and it's a terrible time to buy.
By waiting for both indicators to align, you ensure you are trading not just with the trend, but also with momentum. This synergy significantly reduces the risk of entering a trade based on a false reversal signal.
Let’s walk through a long entry:
- Entry Signal: You spot a bullish flip on the Parabolic SAR as the dots jump below the price.
- Confirmation: You glance at the RSI. It's moving up from oversold territory (below 30) and climbing steadily, but it's not yet overbought (below 70). This confirms that bullish momentum is building.
- Action: With both the trend and momentum on your side, you can take that long position with much higher confidence.
So, which combination is right for you? It really depends on what problem you're trying to solve. The table below breaks down the strengths and weaknesses of these two popular pairings.
Parabolic SAR Indicator Combinations
| Indicator Combination | Best Used For | Primary Benefit | Potential Drawback |
|---|---|---|---|
| SAR + ADX | Filtering out signals in sideways or ranging markets. | Confirms trend strength, dramatically reducing whipsaws. | Can be slower to generate signals, potentially missing the early part of a move. |
| SAR + RSI | Timing entries and avoiding exhausted trends. | Validates market momentum, helping to avoid buying tops or selling bottoms. | Can sometimes filter out valid signals if momentum hasn't caught up to the trend yet. |
Ultimately, layering the Parabolic SAR with other indicators is what elevates it from a basic signal generator to a core part of a professional trading system. This approach adds the crucial context you need to navigate the markets with more precision and discipline.
Putting Parabolic SAR to the Test in ChartsWatcher
Moving from chart theory to the real world is where the rubber meets the road for any trader. Sure, understanding how the Parabolic SAR works is step one, but actually putting it into practice and proving your strategy has an edge is what pays the bills. In ChartsWatcher, you can take the SAR from a simple line of dots and forge it into a sharp, data-backed trading tool.
This all starts with customization. The default settings on any indicator are just a suggestion, not a one-size-fits-all solution. Different stocks, forex pairs, and crypto assets all have their own unique personalities and trade on different rhythms. Your indicator settings need to respect that.
Dialing in the Indicator's Settings
Adding the Parabolic SAR to your chart in ChartsWatcher is a breeze. Once it's on, you can pop open its settings to tweak the core parameters. The most important dial to turn is the Acceleration Factor (AF), which dictates the indicator's sensitivity.
- Initial Step: This is the starting value for the AF, usually set to 0.02. A smaller value gives a new trend more room to breathe before the dots catch up, making the indicator less jumpy. A bigger value makes it react much faster.
- Increment: This is how much the AF increases each time a new Extreme Point (EP) is hit. The default is also typically 0.02.
- Maximum Step: This puts a ceiling on the AF's sensitivity, usually at 0.20. It's a safety mechanism to prevent the indicator from becoming overly aggressive and kicking you out of a strong, healthy trend too early.
A day trader scalping a volatile stock on a 5-minute chart, for instance, might crank up the Initial Step and Increment to make the SAR more responsive to those quick rips and dips. On the flip side, a swing trader looking at a daily chart might stick with the default settings to filter out all the minor, meaningless market noise.
Once you’ve got it just right, you can save your entire setup as a chart template for instant recall. For a deeper dive, check out our guide on how to customize stock charts for smarter trading strategies.
Backtesting Your Strategy for Proven Results
Tweaking your indicator is only half the job. The most crucial step before you risk a single dollar is backtesting—running your strategy on historical data to see how it would have performed in the past. This is where a professional tool like ChartsWatcher really proves its worth, turning your strategy from a hunch into a data-driven plan.
A massive modern study on the Parabolic SAR, conducted over a 12-year period, crunched an incredible 2,880 years of cumulative backtesting data on the Dow 30 stocks. This kind of deep historical analysis gives you quantifiable proof that the indicator's signals aren't just random noise.
That's the level of validation you should be aiming for. The platform's backtesting engine lets you define your exact entry and exit rules based on SAR flips and then spits out a detailed performance report.
Here’s a look at what a backtesting report from ChartsWatcher looks like:
This report gives you the hard numbers—net profit, win rate, max drawdown—offering an unbiased, honest look at your strategy's historical performance.
Creating Real-Time Alerts for SAR Signals
Once you've customized your settings and backtested your strategy, the final piece of the puzzle is automating it with real-time alerts. Instead of being chained to your desk waiting for the dots to flip, you can have ChartsWatcher do the watching for you.
You can set up alerts for the exact conditions you validated during your backtesting.
- Define the Trigger: Set the alert to go off when the Parabolic SAR flips from above the price to below it (your bullish entry signal).
- Add Confirmations: You can layer on other rules, like requiring the ADX to be above 25, to make sure you're only trading in strong trends.
- Set Notifications: Choose how you want to get the signal—a sound alert on your desktop, a pop-up, or an email.
Backtesting isn’t about trying to predict the future with 100% certainty. It’s about building a statistical edge. You're confirming that your strategy has a positive expectancy over a huge sample of past trades. This discipline is what separates the pros from the amateurs.
This three-step process—customize, backtest, and alert—builds a systematic, disciplined trading workflow. It gives you the confidence to pull the trigger, knowing your decisions are backed by data and executed with precision.
Common Mistakes to Avoid When Using Parabolic SAR
Even the sharpest tool in the shed can cause a lot of damage if you don't know how to handle it, and the Parabolic SAR is no different. Its simplicity is a huge plus, but it also creates a few traps that are easy for traders to fall into. Knowing what these pitfalls are is the first step to using the indicator effectively and, more importantly, protecting your trading account.
A lot of these mistakes happen when traders misunderstand what the SAR is actually designed to do.
By learning to spot and sidestep these common errors, you can turn the Parabolic SAR from a potential liability into a reliable part of your trading toolkit. Let's break down the biggest blunders and how you can steer clear of them.
Applying the SAR in Ranging Markets
This is, without a doubt, the single biggest mistake traders make. Using the Parabolic SAR indicator when the market is just chopping sideways is a recipe for disaster. This tool is built to follow trends; it needs a clear, directional move to have any chance of working properly.
When the price is just bouncing around in a range with no real conviction, the SAR gets completely thrown off. You end up with a painful series of false signals known as whipsaws. The dots flip back and forth, above and below the price, triggering one losing trade after another. Before you even think about taking a SAR signal, you must confirm that the market is actually trending. An indicator like the ADX can be a lifesaver here.
Trading SAR Signals Without Confirmation
Another all-too-common habit is jumping on every single dot flip the moment it appears. While a SAR flip is a great alert that something might be happening, it should never be the only reason you enter a trade. Relying on just one signal is like driving with your eyes closed—you have no context for what's happening around you.
A smart trader sees a Parabolic SAR flip as a call to action, not a command to trade. It’s the indicator tapping you on the shoulder, telling you to look closer and get confirmation from other tools, like an RSI reading or basic support and resistance levels.
This layered approach is how you filter out the low-probability noise and gain real confidence in the trades you decide to take.
Other Critical Errors to Sidestep
Beyond those two major pitfalls, a few other bad habits can sink your performance with the Parabolic SAR. Keeping these in mind can make a huge difference.
- Ignoring Parameter Settings: Just using the default settings on every single chart is a rookie move. A volatile crypto on a 15-minute chart is a completely different animal than a slow-moving blue-chip stock on a daily chart. You should always be testing and adjusting the Acceleration Factor to fit the personality of whatever you're trading.
- Always Being in a Trade: The "Stop and Reverse" name is a bit misleading. It doesn't mean you have to immediately flip your position from long to short (or vice versa) every time a new signal prints. Sometimes, the best trade is no trade at all, especially when the market looks messy and unclear.
- Misinterpreting the Trailing Stop: The SAR is a fantastic trailing stop, but it's not magic. In a market that's moving at lightning speed, the price can gap right past the SAR dot, leading to a much bigger loss than you planned for. You should always have a hard stop-loss in place as your ultimate safety net.
Parabolic SAR: Your Questions Answered
Even after you get the hang of how the Parabolic SAR works, a few practical questions always pop up when you see it on a live chart. Let's tackle some of the most common ones head-on. Nailing these down is key to feeling confident enough to actually use this tool in your trading.
This is your go-to spot for direct, no-fluff answers. We'll cover everything from tweaking the settings for different trading styles to understanding how it stacks up against other classic indicators.
What Are the Best Parabolic SAR Settings for Day Trading?
This is a big one. The default settings (0.02 start, 0.02 increment, 0.20 max) are really tuned for longer-term trends on daily charts. If you're day trading on a 5-minute or 15-minute chart, those settings will feel like they're moving in slow motion, often flipping way too late.
To get the indicator up to speed for day trading, you have to make it more sensitive.
- Bump up the Acceleration Factor (AF) Start: Instead of 0.02, a day trader might start experimenting with 0.03 or even 0.04.
- Increase the AF Increment: In the same spirit, raising the step to 0.03 will make the dots race toward the price much faster.
Making these tweaks forces the indicator to be more responsive, helping it catch those quick, intraday trend reversals. But there's a trade-off. This extra sensitivity means it will also generate more false signals—or "whipsaws"—when the market gets choppy. Always, always backtest any new settings before putting real money on the line.
How Is the Parabolic SAR Different from a Moving Average?
Fantastic question. At first glance, they both seem to do the same thing: gauge the trend. But how they get there is completely different. A Simple Moving Average (SMA) just calculates the average price over a set period, giving you a smoothed-out line. Its biggest weakness? Lag. It’s always playing catch-up to what the price is doing right now.
The Parabolic SAR, on the other hand, was built to be adaptive.
The core difference is acceleration. A moving average plods along at a relatively constant pace. The Parabolic SAR’s dots speed up as the trend gets stronger, thanks to that built-in Acceleration Factor. This lets it act as a dynamic trailing stop that automatically tightens up to lock in profits.
Think of it this way: a moving average helps define the trend, while the Parabolic SAR is designed to both define the trend and aggressively trail it to signal a reversal.
Can the Parabolic SAR Measure a Trend's Strength?
While the Parabolic SAR is a champ at identifying trend direction and spotting potential reversals, it’s not built to measure a trend's strength or momentum. Its job is strictly binary: it tells you if the market is in an uptrend (dots below price) or a downtrend (dots above price). That’s it.
To figure out how much power is behind a trend, you have to bring in another tool. Indicators like the Average Directional Index (ADX) or even just a simple volume indicator are designed specifically for this. For instance, seeing a rising ADX line above 25 would confirm that the trend your Parabolic SAR just spotted has real conviction behind it, making the signal that much more reliable.
Ready to put this all into practice? ChartsWatcher gives you the professional-grade backtesting and real-time scanning tools you need to build and prove out a Parabolic SAR strategy. Fine-tune your indicators, stress-test your rules on historical data, and set up alerts so you never miss your entry.
