Master Supply and Demand Zone Trading Techniques
Understanding Supply and Demand Zones
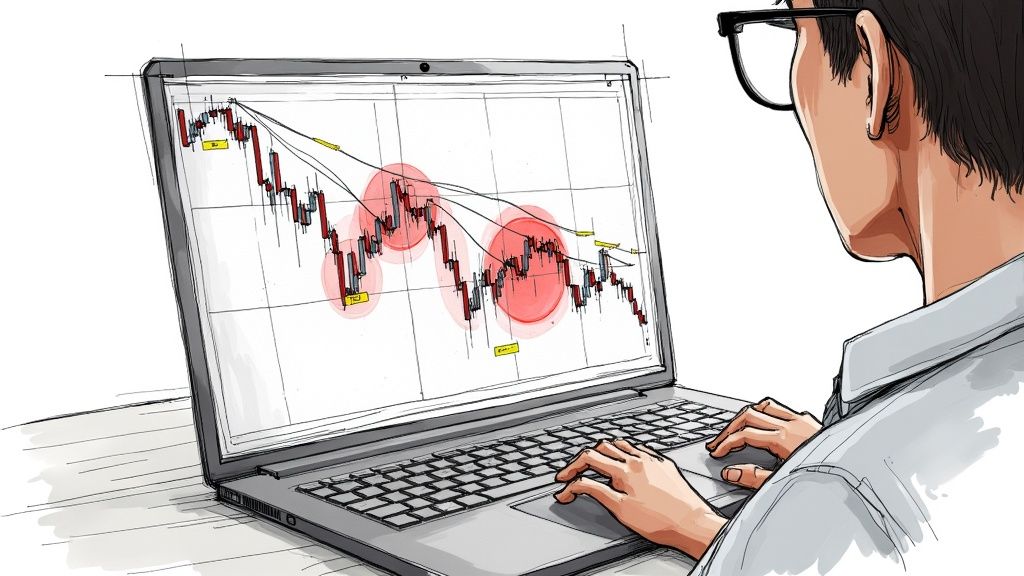
Trading using supply and demand zones relies on basic market principles - when supply increases prices tend to fall, and when demand increases prices tend to rise. In financial markets, supply zones are price areas where selling pressure typically builds up. Demand zones mark areas where buying interest tends to concentrate. These key zones help traders spot potential market reversals.
How Supply and Demand Zones Form
Think about the cycle of buying and selling in markets. A supply zone often appears after prices rise sharply. As more sellers come in at the higher prices, buyers start to pull back and prices can reverse down. It's like when a scarce product suddenly becomes widely available - prices adjust lower. Demand zones work the opposite way - they form after steep price drops attract bargain hunters. Just as clearance sales draw in shoppers, low prices in markets bring in buyers who can push prices back up.
Why These Zones Matter for Traders
These aren't random price levels - they show where major market players are actively trading. Smart traders watch these zones to time their entries and exits. Some wait to buy near demand zones, betting prices will bounce higher. Others look to sell when prices hit supply zones, expecting a move lower. Technical analysts have used these zones for years to spot potential price turning points. During market events like the 2008 financial crisis, many stocks reversed precisely at key supply and demand levels.
Distinguishing Between True Zones and Market Noise
Not every price swing creates a reliable trading zone. The strongest supply and demand zones typically show these traits:
- Sharp Price Movements: Clear, decisive moves that stand out on the chart
- Prior Consolidation: A period where prices trade sideways before breaking out
- Volume Confirmation: Higher trading activity during the price moves
By focusing on zones with these characteristics, traders can better identify high-probability setups. This selective approach helps filter out weaker signals and spot the zones most likely to spark price reversals. Smart traders know that patiently waiting for quality setups often leads to better results than chasing every price move.
Identifying High-Probability Trading Zones

Successful trading goes beyond simply finding supply and demand zones - it requires identifying zones with the highest probability of profitable trades. This skill comes from combining technical analysis with deep market knowledge and experience.
Analyzing Zone Strength
The following table outlines key indicators that help determine if a zone is strong or weak:
| Indicator | Strong Zone | Weak Zone |
|---|---|---|
| Price Movement | Swift and decisive | Slow and uncertain |
| Volume | High trading volume | Low trading volume |
| Consolidation | Clear sideways period before breakout | No clear consolidation |
| Multiple Timeframe Support | Appears on multiple timeframes | Only visible on one timeframe |
| Technical Indicators | Multiple indicators confirm | Few/no confirming indicators |
Strong zones typically show swift price movements after periods of sideways consolidation. Think of this consolidation like a coiled spring storing energy before a powerful move. High trading volume during zone formation adds further validation.
Utilizing Multi-Timeframe Analysis
Smart traders check zones across different timeframes. A zone spotted on a daily chart becomes more significant when it matches zones on weekly and monthly charts. This multi-timeframe confirmation works like cross-referencing multiple maps to verify a location. Shorter timeframes can then help pinpoint precise entry and exit points.
Incorporating Volume and Technical Indicators
Volume is key for validating zones. High volume during zone formation shows strong market participation, while low volume during breakouts may signal false moves. Tools like the Relative Strength Index (RSI) and Moving Average Convergence Divergence (MACD) provide additional confirmation signals - like getting expert second opinions.
Recognizing Optimal Entry and Exit Points
Finding exact entry and exit points requires watching for specific signals near zone boundaries. A bullish engulfing candle near demand zones suggests buying opportunities, while bearish engulfing patterns near supply zones indicate potential shorts. Research shows prices reverse at supply and demand zones roughly 70% of the time on the S&P 500. See detailed statistics here.
Building a Systematic Approach
Creating a methodical trading system is crucial for consistent results. This means having clear rules for:
- Identifying valid trading zones
- Confirming zone strength
- Planning entries and exits
- Managing risk and position size
- Tracking and reviewing results
Following a structured plan helps avoid emotional trading decisions while improving long-term performance.
Mastering Volume Analysis in Zone Trading
Understanding supply and demand zones is essential for identifying good trades, but adding volume analysis makes your decisions much stronger. Many successful traders use volume patterns to validate zones and spot major market moves before they happen.
Why Volume Matters in Zone Trading
Volume tells you how much conviction is behind price movements. When a zone shows high volume, it means many traders are actively participating - making it more likely that price will react strongly there. On the flip side, low volume at key zones could warn you about fake breakouts that trap unwary traders. It's like a busy store during a big sale versus an empty one - the crowd tells you where the real action is. For more insights, check out How to master day trading indicators.
Interpreting Volume Patterns
Watching how volume behaves around zones gives you valuable clues. When price nears a demand zone and volume spikes up sharply, it shows strong buying pressure building - often leading to a price bounce. You'll frequently see surging volume as more buyers jump in, pushing prices higher. High volume is one of the best ways to spot truly strong zones. Learn more about supply and demand trading here.
Practical Applications of Volume Analysis
You can start using volume analysis right away with these simple steps:
- Watch Volume on Breakouts: Strong volume confirms real breakouts, while weak volume hints at false moves
- Filter Your Trades: Focus on zones that show clear volume confirmation and skip the questionable ones
- Add Other Tools: Combine volume with indicators like RSI or MACD to build a complete trading approach
Enhancing Your Trading Decisions
Learning to read volume around supply and demand zones helps you trade with more clarity and confidence. You'll get better at spotting high-probability setups while avoiding traps. This leads to smarter trading choices and better results over time.
Crafting Precision Entry and Exit Strategies
While supply and demand zones help identify potential market reversals, success comes from having clear entry and exit rules. Let's explore practical ways to time trades and manage risk within these zones.
Timing Your Entries for Maximum Advantage
The perfect entry requires more than just price touching a zone - it needs confirmation. For example, when trading demand zones, look for a bullish engulfing pattern with increased volume before entering. Using limit orders at specific prices within zones adds precision and prevents rushed entries. This methodical approach helps avoid the common mistake of entering too early.
Positioning Your Stops for Risk Management
Good traders know that protecting capital is critical. Place stop-loss orders just beyond zone boundaries to define your maximum risk. For example, when buying at demand zones, put your stop slightly below the zone's bottom edge. This simple rule prevents emotional decisions during market swings and keeps losses contained.
Capturing Maximum Profits With Strategic Exits
Smart exit strategies matter as much as good entries. While fixed targets work, trailing stops offer flexibility by locking in gains as price moves favorably. Consider taking partial profits at key levels while letting the rest run. This balanced approach helps secure some gains while keeping potential for larger moves.
Adapting Your Approach Across Different Markets
Markets have unique personalities requiring strategy adjustments. Forex markets move faster and need tighter stops compared to steadier commodity markets. Your timeframe also impacts trading - shorter intervals mean more active management. The key is adapting core principles to fit each market's behavior.
Trade Management Framework
Here's a practical guide showing how different trading styles handle key decisions:
| Parameter | Conservative | Moderate | Aggressive |
|---|---|---|---|
| Stop-Loss Placement | Wider outside the zone | Just outside the zone | Closer to the zone's edge |
| Take-Profit Target | Smaller, fixed percentage | Moderate, fixed percentage | Larger, based on market conditions |
| Trailing Stop | Wider | Moderate | Tighter |
| Position Size | Smaller | Moderate | Larger |
Master these entry and exit methods to find better trading opportunities in supply and demand zones. Focus on consistent practice and ongoing market study to refine your skills. Remember that long-term success comes from disciplined execution of proven techniques.
Avoiding Critical Trading Mistakes
Making mistakes is part of trading, but learning from others' experiences can help you sidestep costly errors. The key is to study both winning and losing trades to understand what makes them different.
Common Pitfalls in Zone Trading
Many traders struggle with misreading zone strength. Just because you spot a zone doesn't mean it's reliable - zones formed with low volume or over long periods tend to be weaker than those created during high-volume, quick price moves.
Another mistake is not considering market context. Even strong zones can fail during major news events or broad market shifts. Picture a demand zone breaking down when overall market sentiment turns negative.
Timing is also critical - poor trade entries can hurt your results. Some traders jump in too quickly without confirmation, while others wait too long and miss the best entry points. Many also fall into the trap of weak risk management, like skipping stop-losses or risking too much on single trades.
Developing Effective Solution Strategies
Start by doing thorough analysis - check multiple timeframes and indicators before entering trades. Pay attention to trading volume to gauge how strongly other traders believe in price moves. Stay on top of market news to spot potential zone disruptions early.
Learn more about managing risk in our guide on how to master day trading risk management.
Building discipline is essential. Wait for clear confirmation signals and stick to your exit plans, even when emotions run high.
Building Robust Risk Management Practices
Protecting your capital should be your top priority. Always use stop-loss orders and size your positions based on risk tolerance. A good rule is risking no more than 1-2% per trade - on a $10,000 account, keep maximum risk between $100-$200.
Spread your trades across different assets to reduce exposure. Most importantly, review your performance regularly. Track wins and losses, learn from mistakes, and adjust your approach. This process of continual improvement is key to long-term success in zone trading.
Creating Your Zone Trading Blueprint
Building a solid supply and demand zone trading plan requires careful planning and clear rules. This guide will help you create a personalized trading strategy that fits your style while maintaining discipline.
Defining Your Trading Goals and Style
Start by getting clear on what you want to achieve with trading. Think about whether you prefer quick trades throughout the day or holding positions for longer periods. Your choice impacts how you'll use supply and demand zones - a day trader might focus on 5-minute charts while swing traders examine daily timeframes. Write down specific goals that match your trading preferences.
Establishing Clear Entry and Exit Rules
Good traders follow strict rules about when to enter and exit trades. For supply and demand zones, outline exactly what signals you need to see before taking a position. This could be specific price patterns, increased trading volume, or technical indicator readings. Set firm profit targets and stop-loss levels based on your risk comfort level. Some traders keep tight stops while others give trades more room to breathe.
Developing Your Risk Management Parameters
Smart risk management keeps you in the game long-term. Decide upfront how much you're willing to risk on each trade. Most successful traders suggest risking no more than 1-2% of your account on any single position. This helps protect your capital during tough market periods. Having clear position sizing rules prevents emotional decisions in the heat of trading.
Performance Tracking and Plan Adjustments
Keep detailed records of every trade you make, including your entry/exit points and why you took the trade. Review your results weekly or monthly to spot what's working and what isn't. Just like a business reviews its performance data, traders need to analyze their results regularly. Use this feedback to fine-tune your approach to supply and demand zone trading.
Adapting to Your Personal Style
While following proven trading principles is important, you also need to make the strategy your own. Maybe you've found certain technical indicators work well with zones, or you trade best during specific market hours. The key is sticking to your rules while incorporating elements that match your strengths. It's like developing your own trading "voice" while respecting the fundamentals.
Want tools to put this blueprint into action? ChartsWatcher offers customizable charts, zone alerts, and powerful analysis features to help identify high-probability trades. Check out the platform to see how it can enhance your supply and demand zone trading.
